If you’ve ever tried slicing a fresh baguette with a chef’s knife and ended up with a squashed, uneven mess, you know how frustrating it can be. That’s where a bread knife comes in. What is a bread knife used for? It’s specifically engineered to cut through bread cleanly—slicing through a crisp, crackling crust while preserving the soft, airy interior. But its job doesn’t stop at loaves of sourdough or sandwich bread. Thanks to its signature serrated edge, this kitchen essential excels at cutting any food that’s firm on the outside and tender within—from juicy tomatoes to delicate layer cakes and ripe avocados.
More than just a specialty tool, a bread knife is one of the most versatile blades in the kitchen. Its saw-like teeth grip slippery skins and tough exteriors without crushing what’s inside, making it indispensable for both bakers and everyday cooks. In this guide, you’ll learn exactly what a bread knife is used for, how to choose the best one, and why every kitchen—from amateur to professional—should have one.
Slice Crusty and Soft Breads Without Crushing
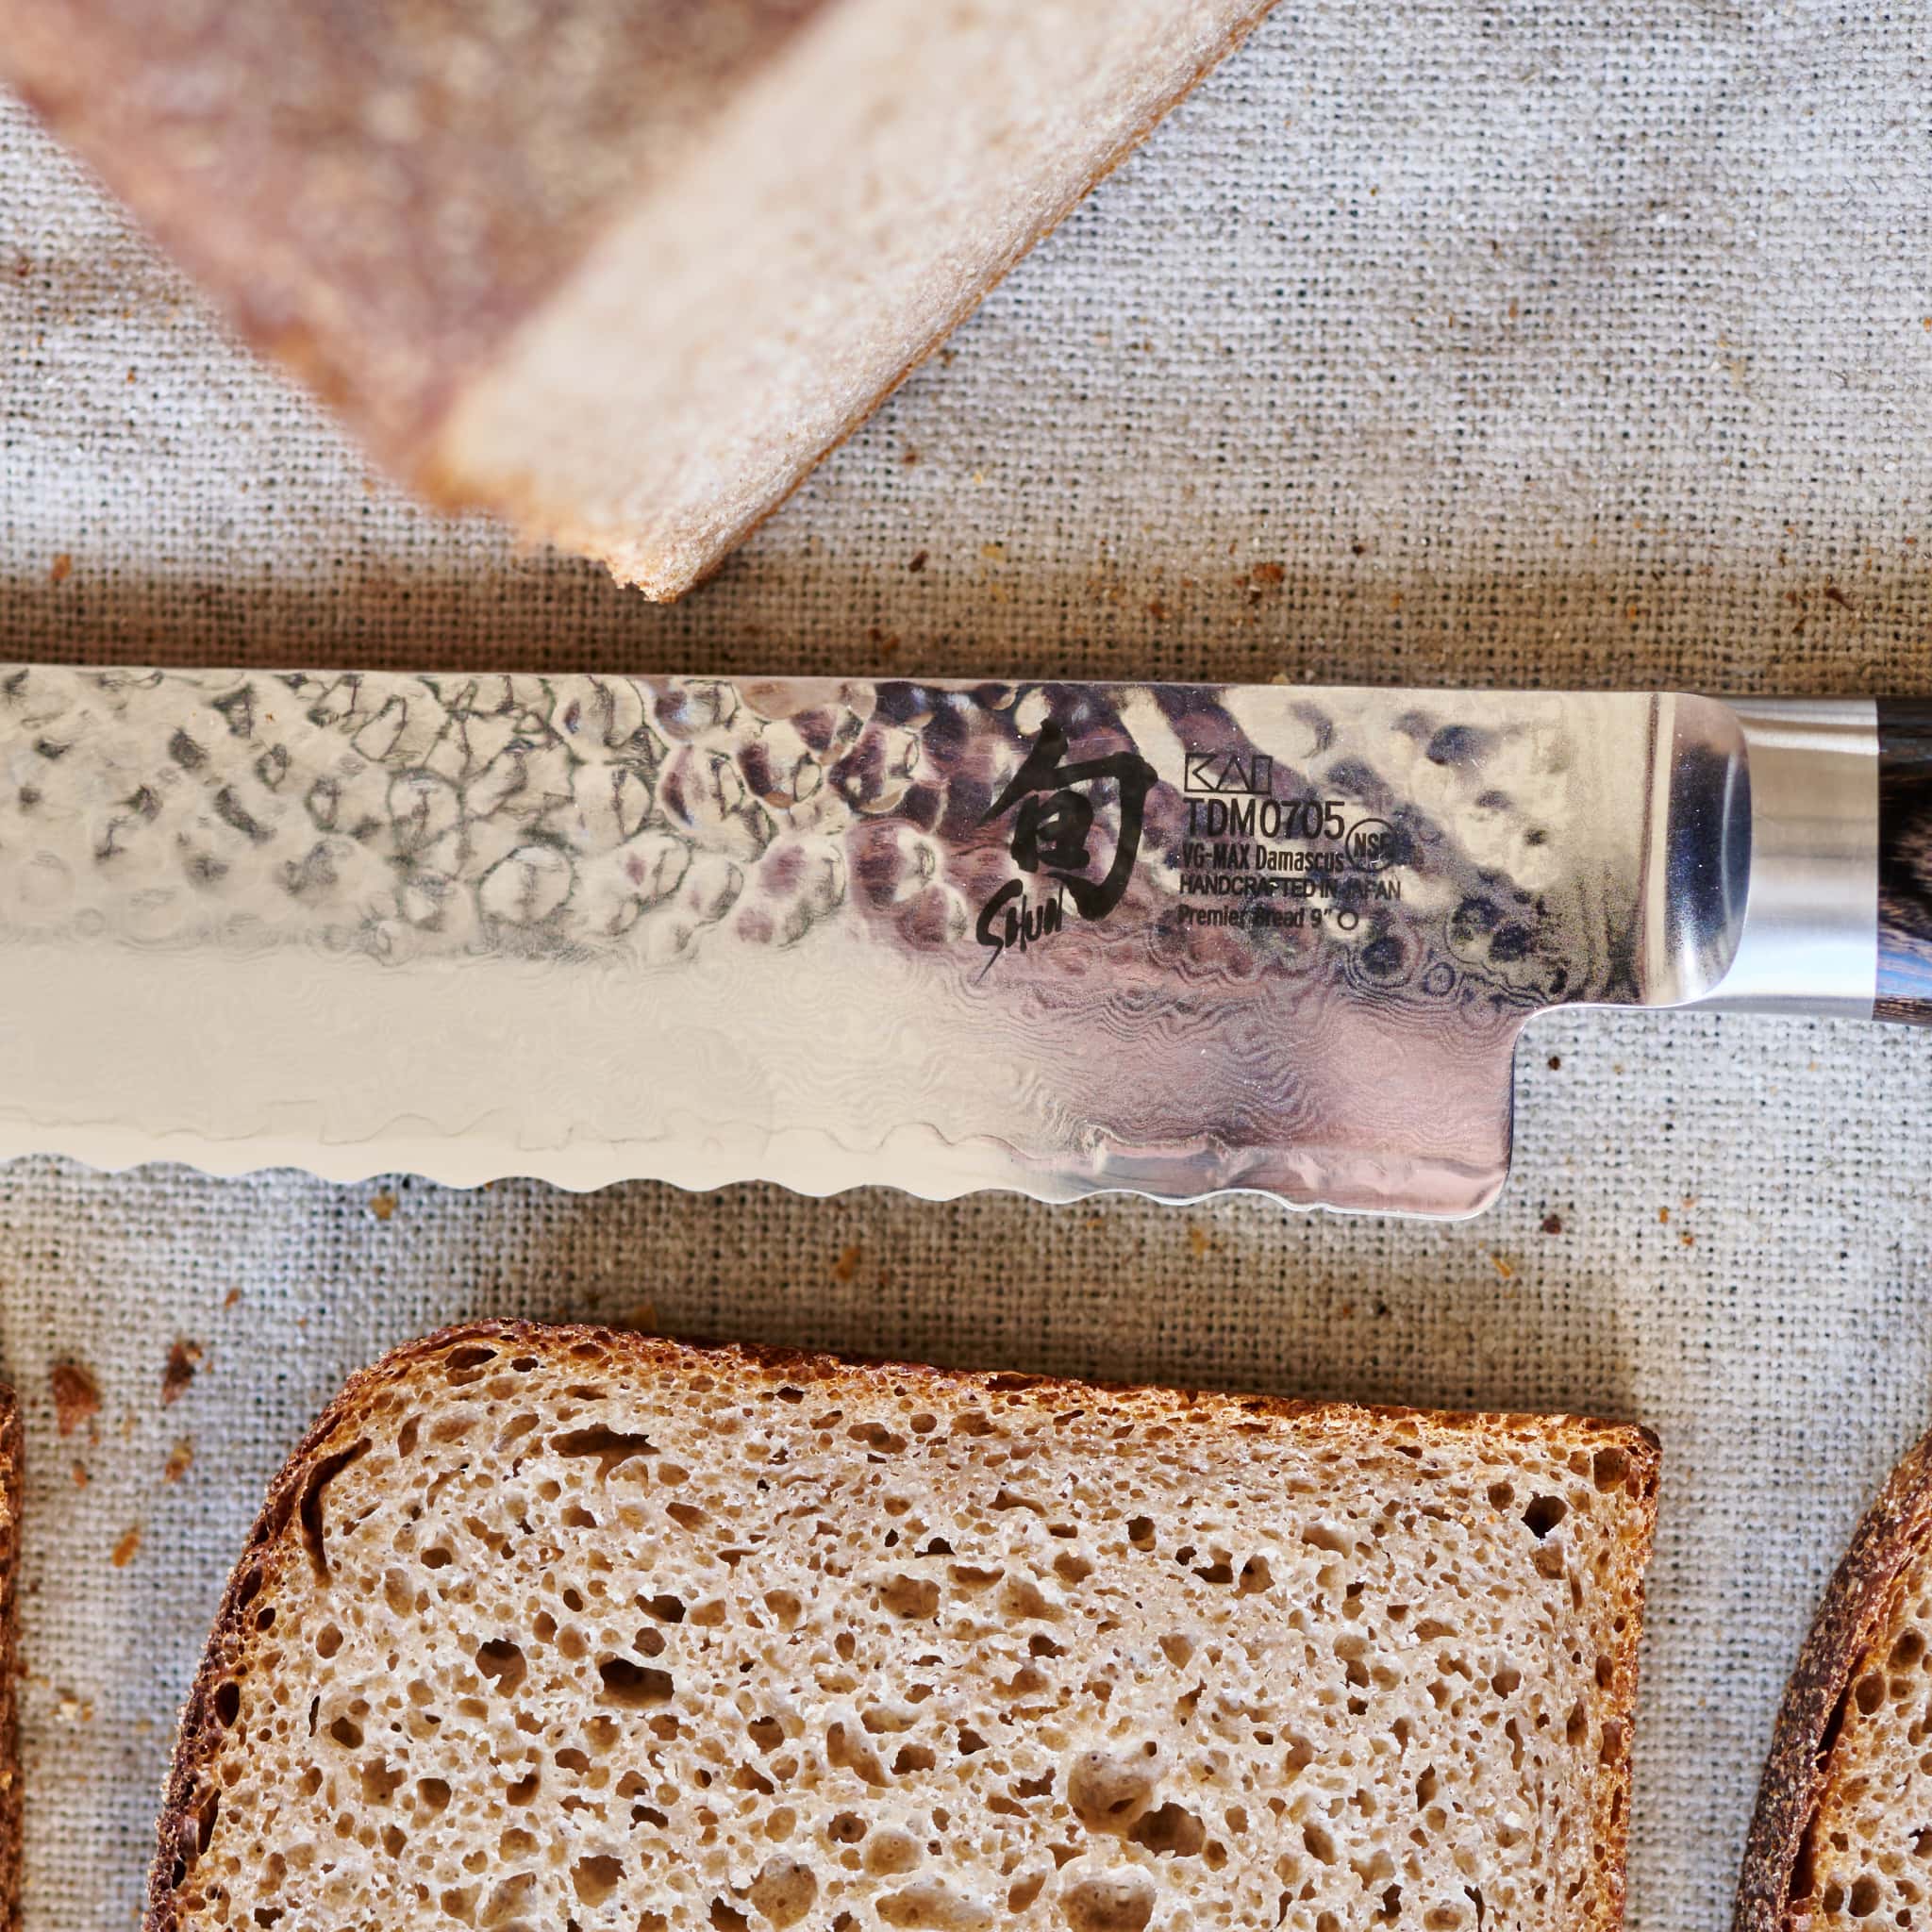
The #1 job of a bread knife is cutting bread cleanly—no matter the type. Whether you’re dealing with a hard-crusted artisan loaf or a pillowy brioche, a serrated blade delivers precise, even slices without smashing the crumb.
Cut Through Hard Crusts with Minimal Effort
Crusty breads like sourdough, rye, or baguettes have exteriors that resist smooth blades. A chef’s knife often slips or requires excessive pressure, risking injury or uneven cuts. The serrated edge of a bread knife bites into the crust immediately, allowing a smooth, controlled cut with a gentle back-and-forth motion.
Choose a knife with deep serrations and wide gullets (the spaces between teeth) to reduce friction and prevent tearing. A 9- to 10-inch blade is ideal for most standard loaves.
Preserve the Soft Interior of Delicate Breads
Soft breads such as sandwich loaves, challah, or milk bread collapse easily under pressure. Using a non-serrated knife can turn a fluffy loaf into a dense slab. A bread knife requires minimal downward force, letting the serrations saw through gently and maintain the bread’s airy structure.
Pro tip: Start with a light scoring motion to create a guide, then follow through with full strokes for straight, even slices.
Slice Large or Round Loaves in One Smooth Motion
Long blades—up to 12 inches—allow you to cut wide boules or batards in a single pass, avoiding jagged, misaligned cuts. This not only improves presentation but ensures uniform thickness for perfect toast, sandwiches, or bruschetta.
Best for: Home bakers, sandwich makers, or anyone who regularly slices large or dense loaves.
Cut Tomatoes and Soft-Fleshed Fruits Without Smashing
A bread knife isn’t just for bread—it’s a go-to for slicing foods that are firm on the outside and tender inside. Tomatoes are a prime example.
Slice Tomatoes Cleanly, Not Soggy
Tomato skins are slippery, and the flesh is juicy and fragile. A straight-edged knife often squashes the fruit or slips on the skin. The serrated edge grips the skin instantly and glides through the interior with minimal pressure, giving you neat, intact slices.
Perfect for: Sandwiches, salads, or garnishes where presentation matters.
Handle Ripe Peaches, Avocados, and Berries with Care
Overripe peaches, avocados, and strawberries are notoriously difficult to cut without turning them into mush. A bread knife’s gentle sawing action prevents crushing. It’s especially useful for slicing avocados while still in the skin or cutting delicate berries cleanly.
Try this: Use a shorter serrated knife (7–8 inches) for better control on small or fragile fruits.
Slice Cakes and Delicate Pastries Like a Pro
In bakeries and home kitchens alike, bread knives are the preferred tool for cutting desserts without ruining their structure.
Cut Layered Cakes Without Smearing Frosting
Frosting, fillings, and sponge layers can collapse under a heavy knife. A bread knife’s sawing motion gently cuts through without dragging or squashing. The serrations grip the crust or frosting, then glide through the soft layers.
Expert tip: Use a slow, steady hand and wipe the blade clean between slices for sharp, professional-looking results.
Keep Flaky Pastries Intact
Croissants, danishes, and cream-filled pastries tear easily. The serrations grip the flaky exterior while minimizing compression of the soft inside.
Bonus tip: Warm the blade slightly under hot water (then dry it) to cut through buttery pastries more smoothly—especially useful for sticky cinnamon rolls.
Cut Thick-Skinned Vegetables and Other Challenging Foods
When a chef’s knife slips on fibrous or tough-skinned produce, a bread knife delivers reliable performance.
Slice Eggplant, Squash, and Bell Peppers Easily
These vegetables have firm skins that resist smooth blades. A serrated edge penetrates without slipping, reducing the risk of injury—especially when hands are wet or oily.
Safety benefit: Greater control means fewer accidents during prep.
Cut Citrus and Dense Baked Goods with Confidence
Citrus peels are tough, and dried fruit loaves are sticky and dense. A bread knife handles both with ease, thanks to its aggressive grip and clean release.
Other smart uses:
– Bagels and English muffins: No more torn halves—get clean, even splits every time.
– Meatloaf and lasagna: Slice with crisp edges and neat portions.
– Granola bars and energy bites: Cut cleanly without crumbling.
Choose the Right Bread Knife for Your Needs
Not all bread knives are equal. The best one depends on your cooking habits and kitchen setup.
Pick the Right Blade Length
- 7–8 inches: Best for small loaves, bagels, or light use.
- 9–10 inches: Ideal for most home kitchens—versatile and effective.
- 12 inches: Perfect for bakers who slice large sourdoughs daily.
Rule of thumb: The blade should be longer than the loaf’s diameter for one-motion cuts.
Choose the Best Serration Type
:max_bytes(150000):strip_icc()/straight-vs-curved-and-serration-comparison-competition-testing-ashlee-redger-01-8233447955b94c84bf5072d57d033c89.jpeg)
Scalloped Edge – Cuts in Both Directions
- C-shaped serrations with smooth gullets
- Allows push and pull cutting, offering better control
- Great for precision work like cake slicing
Saw-Toothed Edge – Aggressive One-Way Cutting
- Sharp, triangular teeth with deep gullets
- Cuts powerfully on the pull stroke only
- Best for thick, crusty breads
Pro tip: Scalloped edges are more versatile; saw-toothed edges are more aggressive.
Select High-Quality Blade Material
Stainless Steel – Low Maintenance
- Resists rust and staining
- Easy to clean
- Good for casual users
High-Carbon Stainless Steel – Superior Performance
- Holds a sharper edge longer
- More durable
- Requires prompt drying to prevent pitting
Investment pick: High-carbon stainless steel for frequent users or serious home cooks.
Prioritize a Comfortable, Secure Handle
You may slice dozens of times in one session—comfort matters.
Look for:
– Non-slip grip (rubber, textured polymer, or wood)
– Full tang (metal extends through handle for balance)
– Offset handle (keeps knuckles off the board)
Test it: If possible, hold the knife to ensure it feels balanced and secure.
Use a Bread Knife the Right Way
Even the best knife underperforms if used incorrectly. Master the technique to get the most from your tool.
Use a Gentle Sawing Motion
Do: Apply light pressure and saw back and forth. Let the serrations do the work.
Don’t: Press down hard or try to chop—this can damage the blade and food.
Visual cue: The blade should glide smoothly, not force its way through.
Start with a Light Scoring Cut
For thick or dense loaves, begin with a shallow motion to create a guide groove. Then, use full strokes to complete the cut.
Why it works: Prevents the knife from wandering and ensures straight, even slices.
Use the Right Cutting Surface
Protect your knife and board by choosing the right surface.
Recommended:
– End-grain wood
– Rubber or soft plastic (polyethylene)
Avoid:
– Bamboo, glass, or marble—these dull serrations faster and can chip the teeth.
Maintain and Sharpen Your Bread Knife Properly
A bread knife stays sharp longer than most knives—but it still needs care.
Sharpen with Serrated-Specific Tools
Standard sharpeners don’t work on serrated edges. You need:
- Tapered diamond rods: Fit into each serration; restore the original angle.
- Serrated knife sharpeners: Pull-through models with matching profiles.
- Electric sharpeners with serrated slots: Fast but risky—use sparingly.
Best option: Professional sharpening every 1–2 years.
Hand Wash and Dry Immediately
Never put a bread knife in the dishwasher. The heat, detergents, and movement can:
– Corrode the blade
– Loosen the handle
– Dull the serrations
Cleaning steps:
1. Rinse under warm water
2. Wash with mild soap and a soft sponge
3. Dry thoroughly
Store It Safely
Loose storage damages the edge and creates a hazard.
Best storage options:
– Knife block
– Magnetic strip (blade-side down)
– Blade guard (sheath)
Warning: Never let the serrated edge rub against other utensils.
Why Every Kitchen Needs a Bread Knife
A bread knife is more than a specialty tool—it’s a kitchen essential.
- Avoid crushed or uneven slices—no more smashed sandwiches or torn bagels.
- Improve safety—less slipping means fewer cuts.
- Save time and effort—one smooth motion replaces multiple jagged attempts.
- Get long-term value—a high-quality bread knife can last decades.
Final Thoughts
What is a bread knife used for? It’s not just for slicing bread—it’s a versatile, essential tool that handles crusty loaves, ripe tomatoes, delicate cakes, and more. Its serrated edge provides unmatched control and precision, making it one of the most underrated yet indispensable knives in any kitchen. By choosing the right blade, using proper technique, and maintaining it well, you’ll enjoy clean, professional results for years to come. Whether you’re a home cook or a baking enthusiast, a quality bread knife belongs in your kitchen.