You reach for your bread knife to slice a fresh baguette, but instead of a clean cut, the blade tears through the crust and flattens the soft interior. Or worse—your tomato collapses into a mushy mess before it even leaves the cutting board. The problem isn’t your technique; it’s your knife. A dull serrated knife loses its signature bite, turning what should be effortless slicing into a frustrating chore.
Here’s the good news: you can sharpen a serrated knife at home, and you don’t need to be a professional to do it right. Unlike straight-edge blades, serrated knives require a targeted approach—each gullet (the curved valley between teeth) must be sharpened individually, preserving the precision tooth geometry that makes these knives so effective. Standard sharpening tools like flat whetstones or pull-through sharpeners will ruin the edge by grinding down the serrations.
With the right tool—typically a tapered diamond rod—and a methodical technique, you can restore your bread knife, steak knife, or utility blade to razor-sharp performance in under 20 minutes. This guide walks you through every step, from identifying the bevel to testing the final edge, so you never have to replace a dull serrated knife again.
Identify the Beveled Side of the Blade
Locate the Sharpening Surface
Before you begin, determine which side of the blade needs sharpening. Most serrated knives are chisel-ground, meaning only one side has a beveled edge that tapers into each gullet, while the opposite side remains flat. You only sharpen the beveled side.
To identify it:
– Hold the knife under a bright light and examine the edge profile.
– The beveled side will show a subtle angle descending into each gullet.
– The flat side runs straight from spine to edge with no visible slope.
🔍 Pro Tip: Gently run a fingernail along both sides of a gullet. If it catches on one side, that’s the beveled side.
Never sharpen the flat side—doing so rounds the teeth and destroys the knife’s ability to pierce and slice cleanly.
Clean the Blade Before Sharpening
Remove Debris for Accurate Results
A dirty blade can interfere with sharpening and burr detection. Food particles, oils, and dried residue accumulate in the gullets, making it hard to see or feel the edge.
Wipe the blade thoroughly with a damp cloth and dry it completely. For stubborn grime, use a soft brush (like an old toothbrush) to clean between the serrations. A clean blade ensures:
– Clear visibility of each gullet
– Better contact with the sharpening tool
– Accurate burr formation and detection
This small step prevents mistakes and ensures consistent results.
Choose the Right Sharpening Tool
Use a Tapered Diamond Rod
Standard sharpening tools won’t work on serrated edges. A flat whetstone can’t follow the curved gullets and will grind the teeth flat, effectively turning your serrated knife into a poor imitation of a straight-edge blade.
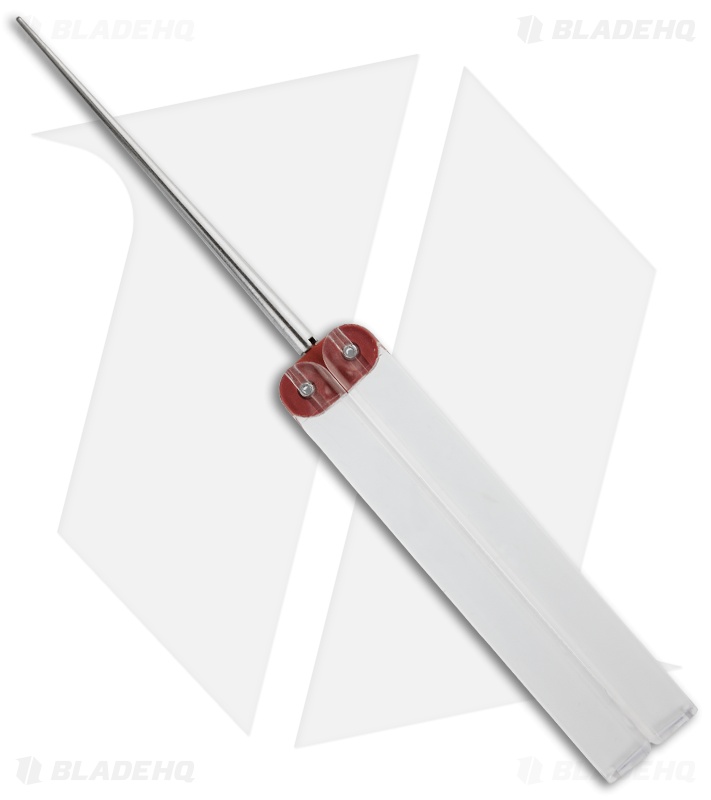
The best tool for the job? A tapered diamond rod, such as the DMT Diafold or Sharpal 101N/178N. These rods have industrial diamond coating and a conical shape that lets you match the rod diameter to the gullet size.
How to Match the Rod to the Gullet:
- Insert the rod into a gullet and slide it along the taper.
- Stop when it fits snugly without touching the tooth tips.
- Too large a rod widens the gullet; too small reduces contact area.
✅ Rule of Thumb: Use 6–8mm rods for bread knives, 3–5mm for steak knives.
Alternative Tools:
- Chef’sChoice Pronto 463: Manual sharpener with flexible diamond slots that conform to serrations.
- Chef’sChoice Trizor XV: One of the few electric sharpeners proven to reach deep into gullets.
- Ceramic honing rods: Only for maintenance, not full sharpening.
Avoid generic pull-through sharpeners—they often skip gullets or remove metal unevenly.
Set the Correct Sharpening Angle
Follow the Factory Bevel
Serrated knives typically have a shallow bevel angle between 13° and 20°, shallower than most straight knives. Don’t guess—match the existing bevel to preserve the blade’s original performance.
Here’s how:
– Insert the diamond rod into a gullet.
– Tilt it until it lies flush against the beveled surface.
– Maintain that angle throughout each stroke.
🖊️ Use a Marker for Feedback: Color the bevel with a permanent marker. As you sharpen, the ink will wear off where contact occurs. Adjust until the entire bevel is evenly polished.
This ensures you’re sharpening the full surface without creating a secondary bevel.
Sharpen Each Gullet Individually
One Tooth at a Time
This is the core of the process: treat each gullet as a tiny, curved knife.
Step-by-Step:
- Insert the rod into the first gullet near the heel.
- Align with the bevel angle.
- Push the rod from spine to edge, moving base to tip of the gullet.
- Use light pressure—diamond abrasives cut efficiently on their own.
- Make 3–6 strokes per gullet, depending on dullness.
- Rotate the rod slightly after each pass to prevent flat spots.
Work from heel to tip, sharpening every gullet in sequence. Skipping teeth leads to uneven cutting.
⚠️ Never saw back and forth—this damages the rod and creates burrs on both sides.
Let the tool do the work. Excessive force wears out the rod and risks altering the tooth geometry.
Check for Burr Formation After Each Gullet

Confirm Full Edge Contact
A burr is a tiny lip of metal that forms on the flat side when the edge is fully sharpened. Its presence means the bevel has been apexed.
To check:
– After sharpening a gullet, gently run a fingertip along the flat side at the base of the valley.
– You should feel a slight “catch” or drag.
– Alternatively, run a fingernail across—it will snag if a burr is present.
If no burr forms, add 1–2 more strokes and recheck.
🔎 Note: Some fine serrations may not form a detectable burr. In those cases, rely on consistent stroke count and visual inspection.
Consistency across all gullets is key—don’t over-sharpen some and under-sharpen others.
Deburr the Flat Side Without Damaging the Edge
Final Touch for Smooth Cutting
After sharpening all gullets, remove the burr from the flat side without dulling the newly sharpened teeth.
Methods:
- Fine-grit sandpaper (600–1000+): Lay flat on a table.
- Leather strop: Handheld or mounted.
- Fine ceramic rod: Use flat-side only.
Technique:
- Place the flat side of the blade on the surface.
- Make 5–10 edge-trailing passes (pull the blade backward, spine leading).
- Use minimal pressure—just enough to lift the burr.
❌ Never push forward (edge-leading)—this blunts the newly sharpened teeth.
Alternatively, lightly run the diamond rod across the flat side with feather-light strokes.
Test the Sharpness with Real-World Cuts
Validate Performance, Not Assumptions
Don’t assume it’s sharp—test it.
Paper Test:
- Hold a sheet of printer paper vertically.
- Try slicing downward with a gentle sawing motion.
- A sharp serrated knife should bite instantly and cut cleanly.
Tomato Test:
- Slice a ripe tomato without peeling.
- The knife should pierce the skin easily and glide through the flesh without crushing.
Bread Test:
- Cut a crusty baguette.
- Look for clean entry, minimal crumbs, and no squashing.
If performance is still lacking, repeat 1–2 strokes per gullet and re-deburr.
Maintain Between Sharpenings with Honing
Extend Edge Life with Minimal Effort
You don’t need to fully sharpen every time. Regular honing keeps the edge aligned and delays metal removal.
How to Hone:
- Use a ceramic honing rod.
- Insert the rod into each gullet and make 2–3 light passes.
- Focus on realignment, not sharpening.
🕒 Frequency: Every 3–5 uses or whenever cutting feels sluggish.
Honing takes less than two minutes and can double the time between full sharpenings.
Avoid Common Mistakes That Ruin Serrated Blades
Preserve Tooth Geometry and Performance
Even experienced users make errors that degrade performance.
❌ Don’t Use Flat Whetstones
- Grinds down the serrations, turning the blade into a poor straight-edge knife.
❌ Don’t Oversharpen
- Removes too much metal, shortening blade life.
- Stick to 3–6 strokes per gullet unless severely dull.
❌ Don’t Use Generic Electric Sharpeners
- Most skip gullets or remove metal unevenly.
- Only use models proven to handle serrations (e.g., Chef’sChoice Trizor XV).
❌ Don’t Round the Teeth
- Avoid aggressive deburring or sideways motion.
- Sharp points are essential for piercing action.
💡 Rule of Thumb: If the knife cuts better but still skips, you may have dulled the tips. Stop and reassess.
When to Replace vs. Sharpen
Make a Cost-Effective Decision
Professional sharpening services charge $13–$15 per knife (20 minutes at $40/hour). For high-end knives like Wüsthof or Global, this is a smart investment.
But consider replacement if:
– Serrations are chipped, broken, or flattened.
– The blade has visible corrosion or warping.
– It’s a low-cost knife not worth the effort.
🛠️ Expert Insight: Most dull serrated knives are fully restorable. Don’t throw away a functional blade—sharpen it first.
Final Tips for Longevity and Performance
Sharpen Smarter, Not Harder
- Sharpen Early: At first sign of drag, touch up the edge—fewer strokes preserve metal.
- Store Properly: Use a knife block or magnetic strip—never toss in a drawer.
- Hand Wash Only: Dishwashers degrade edges and handles.
- Hone Frequently: 30 seconds every few uses extends sharpness dramatically.
- Use Light Pressure: Let diamond abrasives do the cutting—no need to press hard.
🔄 Cycle: Clean → Hone → Sharpen (only when needed) → Test → Store
With proper care, a quality serrated knife can last decades.
Final Note: Sharpening a serrated knife isn’t complicated—it’s precise. By using a tapered diamond rod, following the factory bevel, and working one gullet at a time, you restore performance without compromising design. Whether you’re slicing sourdough, heirloom tomatoes, or delicate pastries, a sharp serrated edge makes all the difference. Now that you know how, there’s no reason to replace a dull knife—just sharpen it and slice like new.