A truly sharp knife doesn’t fight you—it flows. It slices through food with minimal pressure, leaving clean cuts and intact cells, not mush and tears. But how do you know your knife is sharp, not just “sharp enough”? The answer lies in testing. Relying on feel alone leads to guesswork. Knowing how to test sharpness of a knife removes uncertainty, ensuring your blade performs safely, efficiently, and precisely. Whether you’re a home cook, chef, or sharpening enthusiast, this guide reveals proven, step-by-step methods—from quick visual checks to real-world food tests—that let you verify edge quality with confidence. You’ll learn what a sharp edge feels like, how it behaves, and which tests best reflect actual kitchen performance.
Spot Flaws with Visual Inspection
Check for Light Reflection Along the Edge
Hold your knife under bright light and tilt it so the edge runs parallel to the light source. A perfectly sharp edge reflects no light—it appears as a thin, dark line from heel to tip. If you see glints or bright spots, those are signs of a rolled, chipped, or dulled apex where the metal is catching the light. This simple test is a fast first-line check, especially after sharpening. While it won’t reveal microscopic damage, any visible reflection means the edge isn’t optimally sharp and needs attention.
Use a USB Microscope for Micro-Level Clarity

For a deeper diagnosis, a USB microscope (50x–180x magnification) reveals what your eyes can’t see. Position it directly over the edge and slowly scan from heel to tip. A clean, sharp edge shows as a continuous dark line with no sparkle. Any glint indicates a burr, micro-chip, or inconsistent bevel. At 180x, you can even assess apex centering—whether the edge is centered between the two bevels. This method is objective, repeatable, and invaluable for tracking sharpening progress or diagnosing edge failure.
Confirm Edge Bite with Tactile Feedback
Drag Your Fingerprint Across the Edge
Gently drag your fingertip across the edge—not along it—using light pressure. A sharp knife will lightly catch the ridges of your fingerprint, like fine sandpaper grabbing fibers. A dull blade will slide smoothly with no resistance. This test relies on sensitivity, not force, and becomes more accurate with practice. Even bite from heel to tip means your edge is well-aligned and refined.
Pro Tip: Always move perpendicular to the blade. Never drag your finger with the edge—this increases the risk of a cut.
Perform the Three-Finger Bite Test
Lay the blade flat across the tips of three fingers held together. Gently push down while slightly moving the knife forward. A sharp edge will bite immediately, stopping movement without slipping. A dull knife will slide or require noticeable pressure. This mimics food resistance and is favored by professional sharpeners for its reliability. Uneven biting suggests inconsistent sharpening.
Test Edge Grip on Your Thumbnail
Lightly drag the blade across your thumbnail at a shallow angle. A sharp edge will dig in slightly, resisting motion like a tiny claw. A dull edge will bounce or slide off. Use minimal pressure—this isn’t about cutting your nail, but sensing micro-grip. If the blade skips or trembles, there’s likely a burr or uneven apex. This method is fast, safe, and ideal for on-the-go checks.
Strop with Fingertips to Detect Wire Edges
Run your fingertip pads along the edge in both directions, as if stropping. A clean, sharp edge feels smooth and crisp. If one side feels rough or “fuzzy,” you’ve likely got a wire edge (burr) that needs removal. This technique helps fine-tune sharpening and confirms both sides are polished and balanced.
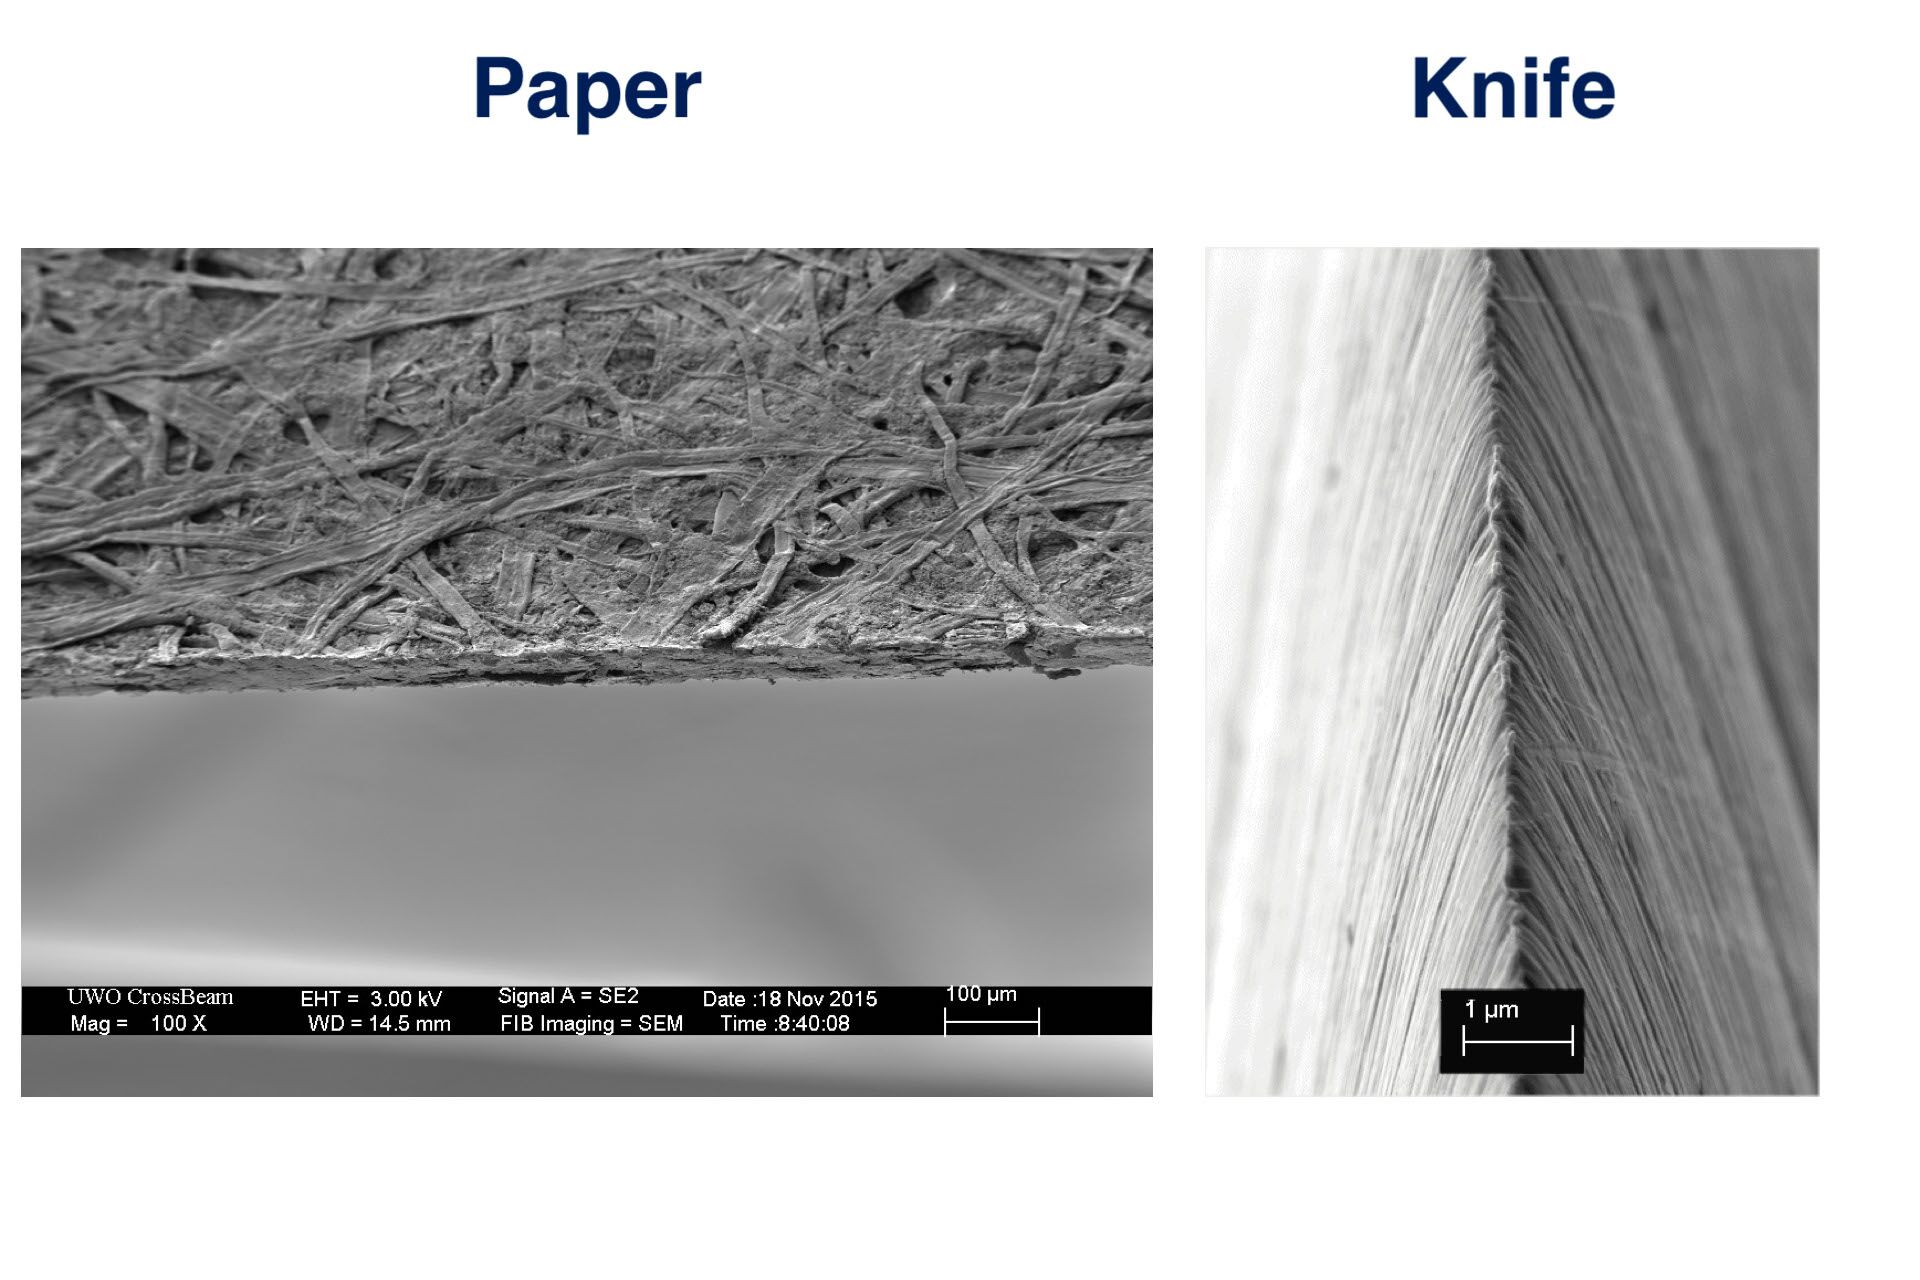
Validate Apex Quality with Paper Tests
Cut Hanging Printer Paper with a Draw Stroke
Hold a sheet of printer paper vertically by one edge. Slice through it with a smooth draw motion. A sharp knife cuts cleanly; a dull one crumples or tears the paper. For a harder challenge, try a push cut: place the paper’s top edge on a table and press straight down with the knife point. Only a razor-sharp edge will penetrate without drawing.
Key Insight: If your knife can push-cut paper, it’s sharper than 90% of kitchen blades.
Make S-Cuts on Paper Towels for Edge Continuity
Use a single or double-ply paper towel. Perform vertical, diagonal, and S-shaped cuts. This tests edge continuity—you’ll quickly spot weak spots where the blade skips or drags. A fully sharp edge slices smoothly through every curve. This method also reveals residual burrs, which catch on fibers and create jagged cuts.
Slice Semi-Taut Paper Towel for Real-World Feedback
Pull a sheet halfway from the roll and hold it taut. Slice through it as if cutting food. The slight tension mimics resistance found in produce or meat. A sharp knife glides; a dull one snags. This test is fast, low-cost, and gives real-world feedback—especially useful after honing or stropping.
Try the Toilet Paper Drop Test for Sensitivity
Drape a strip of single-ply toilet paper over the upturned edge of the blade. Let it fall or blow gently. A sharp knife will sever it cleanly in half. Alternatively, hold the tissue in one hand and cut with the other. If it slices silently, your edge is fine. This is one of the most sensitive tests—ideal for confirming final sharpness.
Shave Glossy Paper for Razor-Level Keenness
Hold the side edge of magazine or receipt paper vertically. Draw the knife across it at a shallow angle. A very sharp knife will shave thin strips off the side. If it only cuts through the face, it’s sharp—but not razor-sharp. This test demands a polished apex and reveals subtle imperfections.
Gauge Real-World Performance with Food Tests
Slice a Ripe Tomato with Zero Pressure
Use a soft, ripe tomato. Attempt to cut through the skin with no downward pressure. A sharp knife will slide through like butter, cleanly separating the skin without crushing the flesh. A dull knife will squish, tear, or require sawing. Tomato skin is thin and elastic—only a polished apex can handle it effortlessly.
Expert Consensus: If your knife slices tomato skin cleanly, it’s sharp enough for any kitchen task.
Chop an Onion for Daily Use Validation
Onions are a real-world sharpness meter. A sharp knife allows fast, clean cuts with minimal tearing. You’ll notice less resistance, fewer ragged layers, and reduced eye irritation (intact cells release fewer fumes). If the blade snags or the onion splits unevenly, your edge needs work. Since onions are cut frequently, this test reflects daily performance.
Cut Grape Tomatoes for Precision Testing
Small and uniform, grape tomatoes are ideal for testing with minimal waste. Try slicing one in half with a single motion. A sharp knife cuts cleanly; a dull one crushes or requires multiple passes. Their thin skin and juicy interior challenge edge initiation—perfect for spotting subtle dullness.
Split a Thick Carrot to Test Edge and Geometry
Use a 2-inch thick carrot. Attempt a clean slice without cracking. A sharp knife with proper geometry will cut smoothly. A dull or thick-ground blade may cause the carrot to split or shatter due to compression. Note: this test depends on both sharpness and blade design—some knives aren’t meant for dense fibers.
Insight: A knife that splits carrots isn’t necessarily dull—it may have a thick spine or wide grind unsuited for heavy vegetables.
Push the Limits with the Body Hair Shaving Test
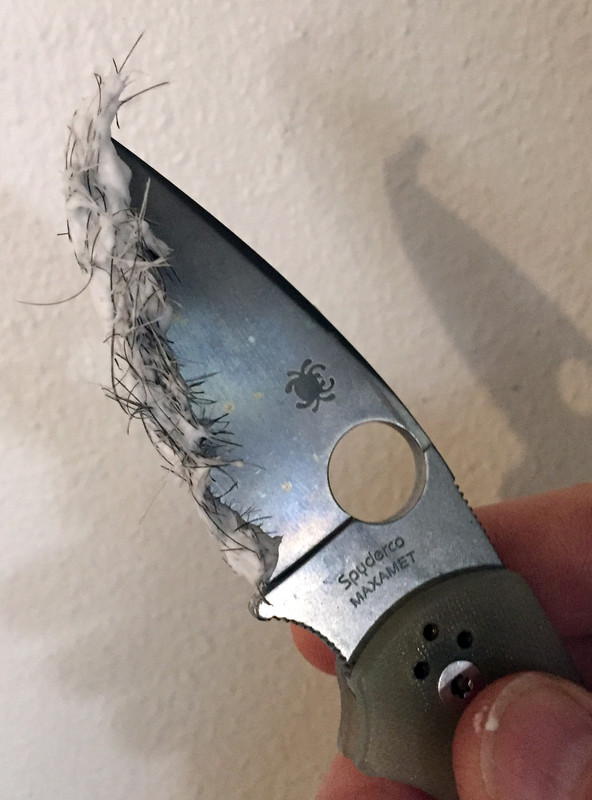
Shave Arm Hairs to Confirm Extreme Sharpness
Place the edge against fine forearm hairs. Use light pressure and a slow draw motion. A sharp knife will cut nearly all hairs in one pass. A dull one will fold or skip over them. This test detects extreme sharpness—useful for verifying final polish after sharpening.
- Dull: Hairs bend or resist.
- Moderate: Cuts some, misses others.
- Very Sharp: Clean cut in one stroke.
- Exceptional: Shaves like a straight razor.
Caution: Not recommended for beginners. Risk of nicks is real—use steady hands and controlled motion.
Test with Thicker Hair for Enhanced Sensitivity
Some sharpeners use leg or facial hair for a tougher test. Thicker hairs require more bite, revealing subtle edge flaws. As one user noted: “I do use my girlfriend’s hair. It’s much thicker than mine.” This variation increases sensitivity and helps confirm edge durability.
Alternative and Scientific Verification Methods
Test Edge Grip on a Plastic Pen
Gently press the edge against a plastic pen or marker. A sharp knife will catch or stick slightly. A dull one will glide. This safe, quick method works well for fillet knives and thin blades. It also lets you observe blade flex—useful for assessing edge alignment.
Use the Edge-On-Up Sharpness Tester for Objective Data
This professional device measures sharpness using standardized media and provides a numerical score. It’s used in labs and quality control to compare edges objectively. While expensive, it eliminates subjectivity and detects micro-defects invisible to the eye.
Perform a Durability Check with Cardboard
After passing a paper test, cut through cardboard or hemp twine 5–10 times. Then retest with phonebook paper. If the edge still cuts cleanly, it’s durable. If it fails, it likely had a fragile wire edge that collapsed under stress. This combo test simulates real use and confirms edge stability.
Expert Insight: “If an edge has any issues, it will show up right away. If it passes, it should hold for a while.”
Debunking Common Sharpness Myths
“Paper Cutting Is Just a Parlor Trick”
Paper is a uniform, low-friction medium—perfect for detecting burrs, micro-chips, and apex refinement. It’s not about cutting paper for its own sake; it’s about using a consistent benchmark to verify sharpening quality.
“Sharpness Means Poor Edge Retention”
A properly sharpened edge—matched to the steel and grind—can be both keen and long-lasting. The key is balancing bevel angle and refinement. As one expert said: “Narrow the angle until it fails, then increase by 1–2 degrees—that’s your optimum.”
“Lower Grit Is Better for Kitchen Knives”
A coarser edge (220–600 grit) can help with soft foods, but it’s not inherently superior. Final grit should match intended use: high polish for precision, slight tooth for fibrous foods.
Recommended Testing Protocol
Use a tiered approach:
| Step | Test | Purpose |
|---|---|---|
| 1 | Visual Inspection | Spot macro damage, burrs |
| 2 | Tactile Test (Finger, Nail, Three-Finger) | Immediate bite feedback |
| 3 | Paper Tests (Hanging, S-Cuts, Receipt) | Confirm apex refinement |
| 4 | Hair Shaving (Optional) | Verify extreme sharpness |
| 5 | Food Test (Tomato, Onion, Carrot) | Validate real-world performance |
| 6 | Durability Check (Cardboard + Re-Test) | Ensure edge stability |
Start simple. Build confidence. Combine methods for a complete picture.
Why Sharpness Matters
A sharp knife is safer, faster, and more precise. It reduces hand fatigue, prevents slips, preserves nutrients, and extends your knife’s life. Testing isn’t about perfection—it’s about purpose. Match your sharpness to your task, and test accordingly.